What Are Command Strips?
Command Strips are adhesive strips designed to allow you to hang items on the wall without using nails or screws. The strips consist of two parts: one that sticks to the wall and another that adheres to the object you're hanging. Once you’re ready to remove them, they come off cleanly without damaging the surface, making them perfect for renters or anyone who wants a damage-free solution to hanging items.
Benefits of Using Command Strips:
- Damage-Free: No holes, marks, or sticky residue left behind.
- Easy to Use: Simple to apply and remove.
- Versatile: Works on a variety of surfaces such as drywall, tile, metal, and wood.
- Adjustable: Can be repositioned before you press them fully in place.
- No Tools Required: No need for hammers or drills, making them safe for people who aren't comfortable with traditional hanging methods.
Now, let’s walk through the steps to use Command Strips to hang your large canvas art!
Step 1: Gather Your Materials
Before you start, gather everything you need:
- Command Strips (Make sure to choose the ones rated for the weight of your canvas.)
- Your canvas art
- Measuring tape or ruler
- Level (optional, but highly recommended for straight placement)
Illustration:
Imagine a clean, well-lit workspace with all your tools laid out: Command Strips, a measuring tape, your large canvas art, and a level to ensure accuracy.
Step 2: Determine the Placement on the Wall
Before applying the Command Strips, decide where you want the canvas to be placed. This is a crucial step since it’s easier to adjust things now than after the strips are stuck to the wall.
- Measure the center of the wall to make sure the artwork is aligned properly.
- Use a level to ensure your marks are straight.
- Mark lightly with a pencil where the top of the canvas will be.
Illustration:
A person standing in front of a blank wall with a level and measuring tape, marking the center of the wall with a pencil.
Step 3: Prepare the Command Strips
Each set of Command Strips usually has two pieces: one for the wall and one for the canvas. Depending on the size of your canvas, you’ll need to use more strips for heavier artwork.
- For a large canvas, use 4-6 strips (one on each corner or as recommended for the weight of the canvas).
- Separate the strips from the backing but don’t remove the adhesive protective strips just yet.
- Press the strips together (one part on the wall, one part on the back of the canvas).
Illustration:
A close-up of a hand pressing the two parts of the Command Strip together.
Step 4: Attach the Strips to the Canvas
- Place the strips on the back of the canvas. Ensure the adhesive side is facing the wall side and stick them close to the edges, particularly on the top corners of the canvas. This ensures even weight distribution.
- Press firmly for 30 seconds to ensure a strong bond.
Illustration:
A hand carefully sticking Command Strips to the corners of the back of the canvas.
Step 5: Position the Canvas on the Wall
Now that the strips are on both the wall and the back of the canvas, it’s time to hang your artwork.
- Align the canvas with the marks you made earlier.
- Press the canvas against the wall with firm, even pressure. Hold it in place for about 30 seconds to activate the adhesive and ensure a secure bond.
Illustration:
A person holding the canvas against the wall with one hand while pressing firmly with the other hand.
Step 6: Adjust the Placement (if necessary)
Once the canvas is on the wall, you can still make minor adjustments before the strips are fully set.
- Check with the level to ensure the canvas is straight.
- If needed, gently lift the canvas off the wall and reposition it. After you’re happy with the placement, press it back firmly.
Illustration:
A hand holding the level across the top of the canvas to ensure it’s perfectly straight.
Step 7: Let the Strips Set
For maximum holding power, wait at least one hour before hanging anything or disturbing the canvas. This allows the adhesive to fully bond and set.
Illustration:
The canvas art hanging on the wall, with a timer in the corner showing one hour.
Step 8: Enjoy Your Art!
Your canvas should now be securely hung with Command Strips, and you can enjoy your beautiful artwork without worrying about damaging the wall.
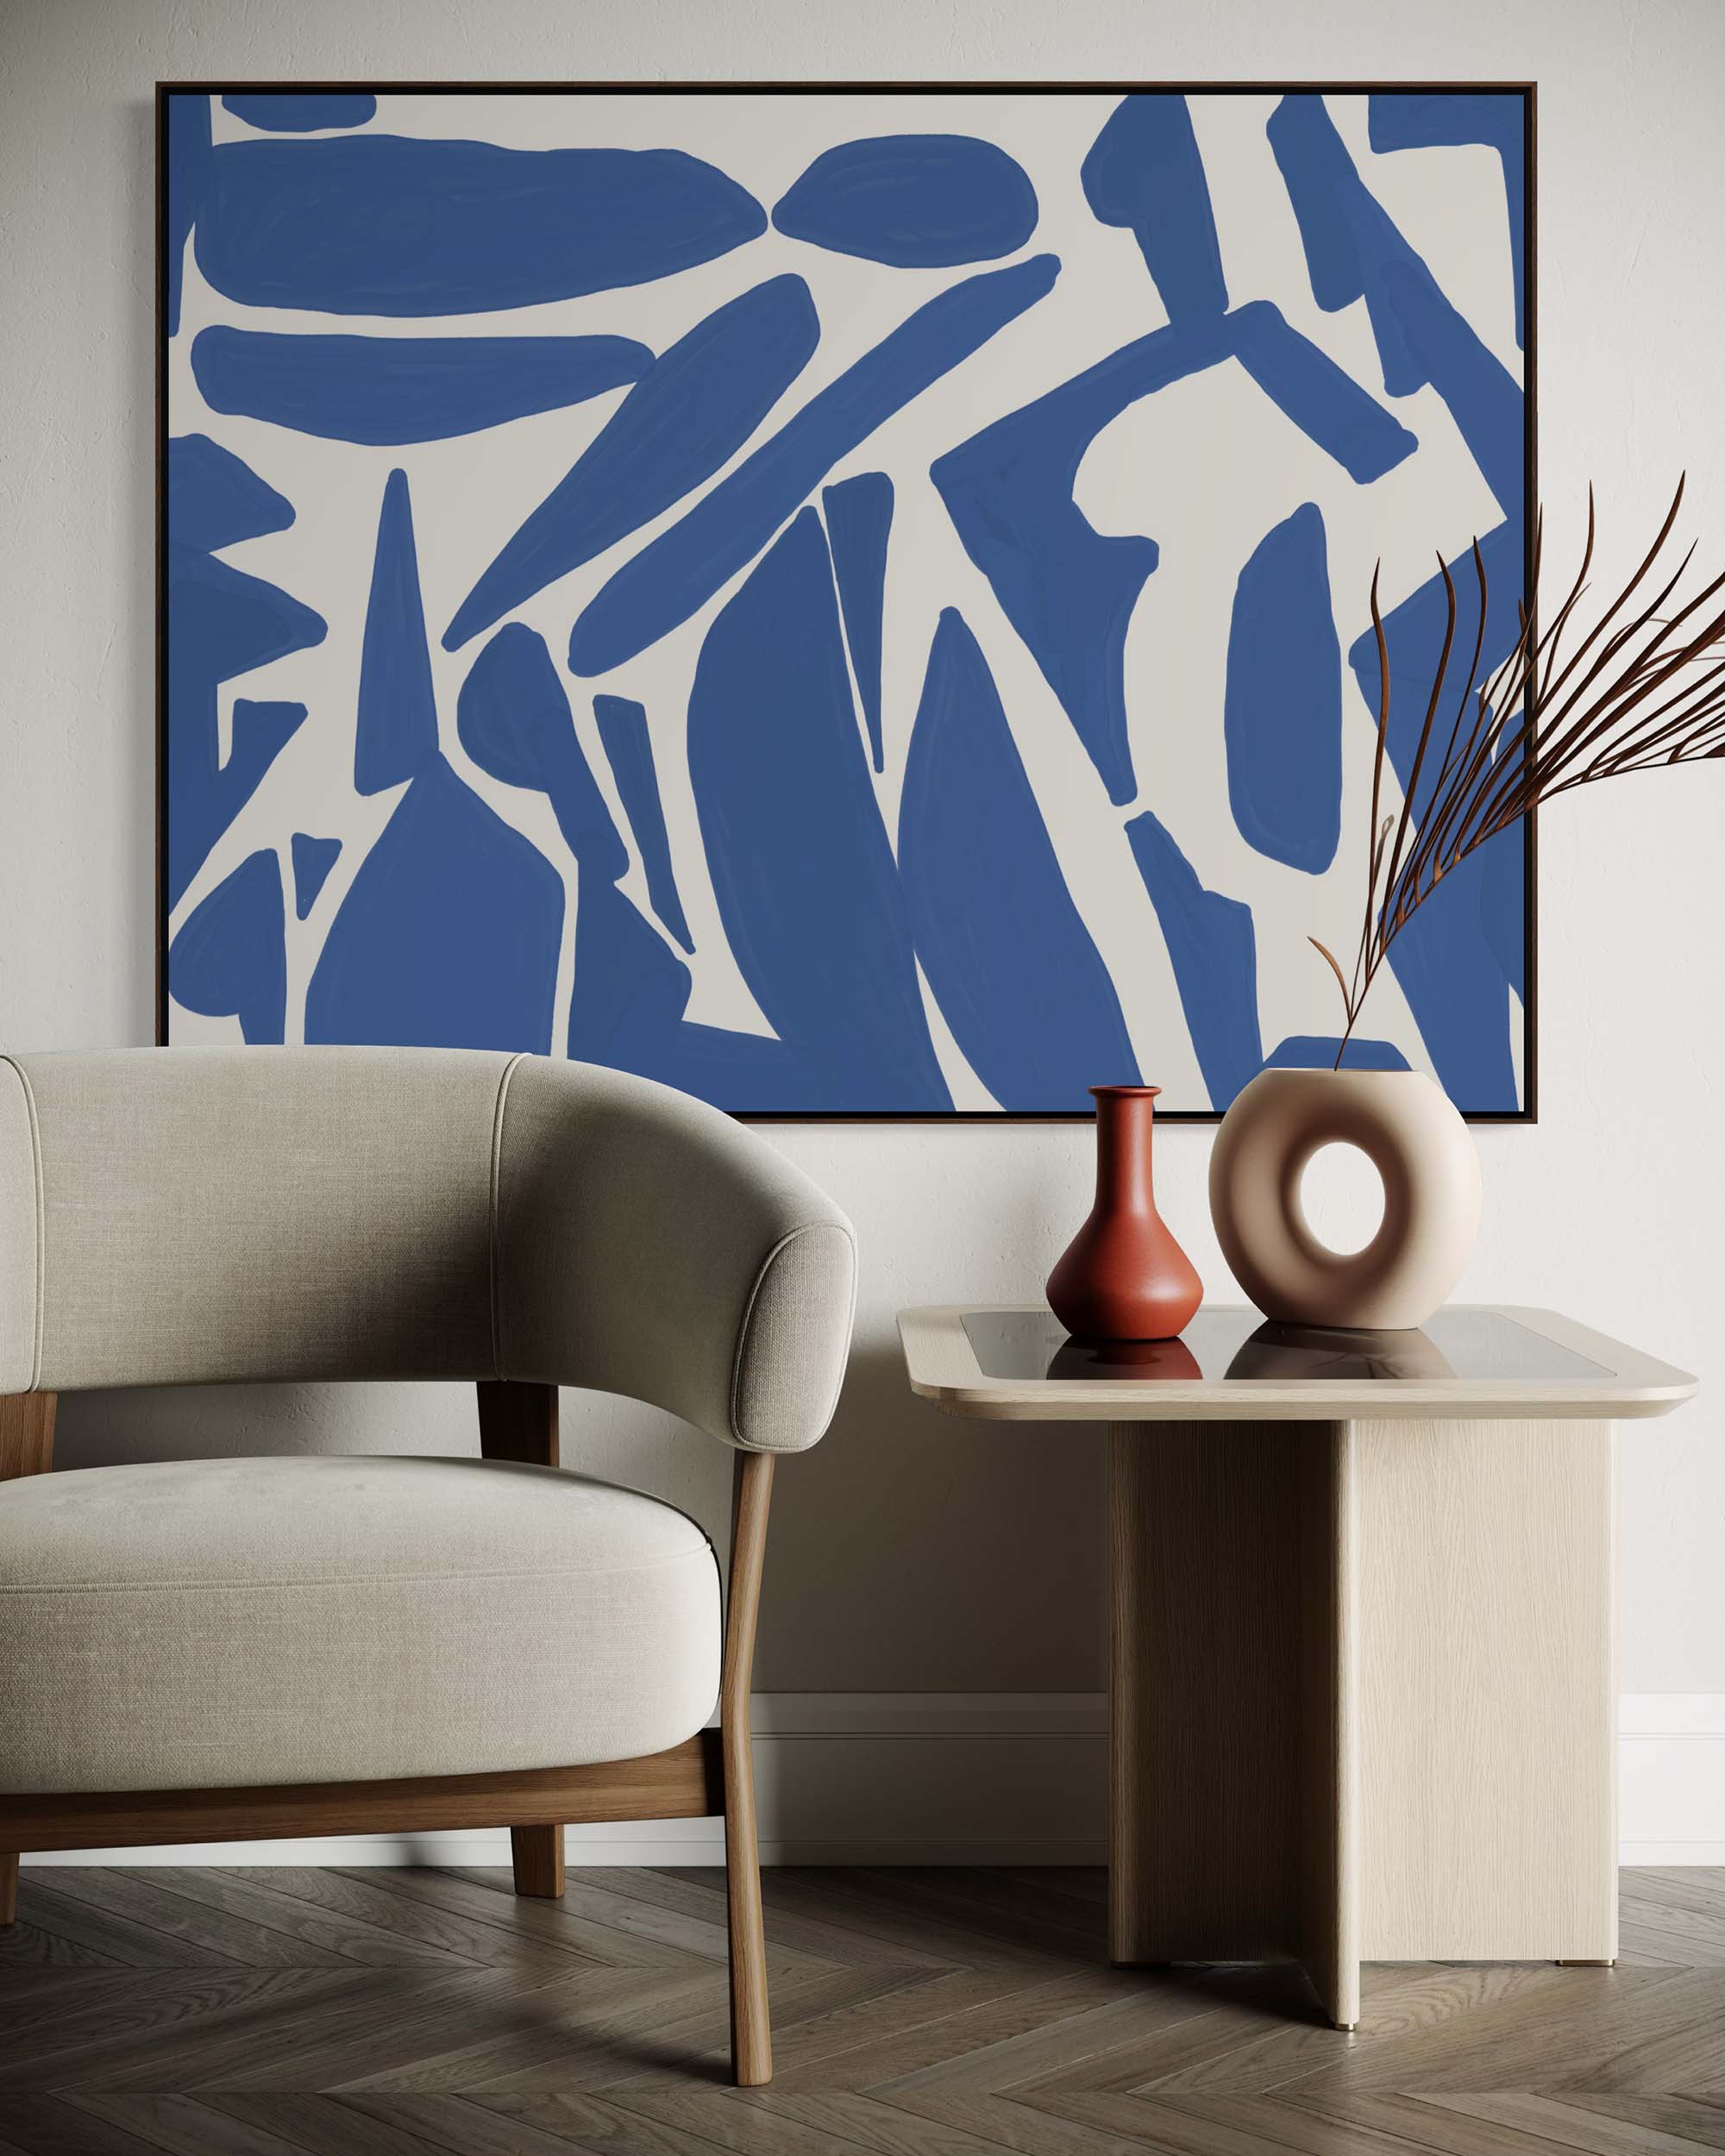
Illustration:
A completed room with a beautifully hung canvas art, creating a cozy, finished look.
Final Tips:
- Make sure the strips are rated for the weight of your canvas (larger canvases may require more strips).
- If you’re hanging a particularly heavy piece, consider using the large Command Strips designed for heavier objects.
- When removing the artwork, follow the instructions on the package to ensure the strips come off without damaging the wall.
By following these steps, you can hang your large canvas art securely and damage-free, giving your space a polished look!