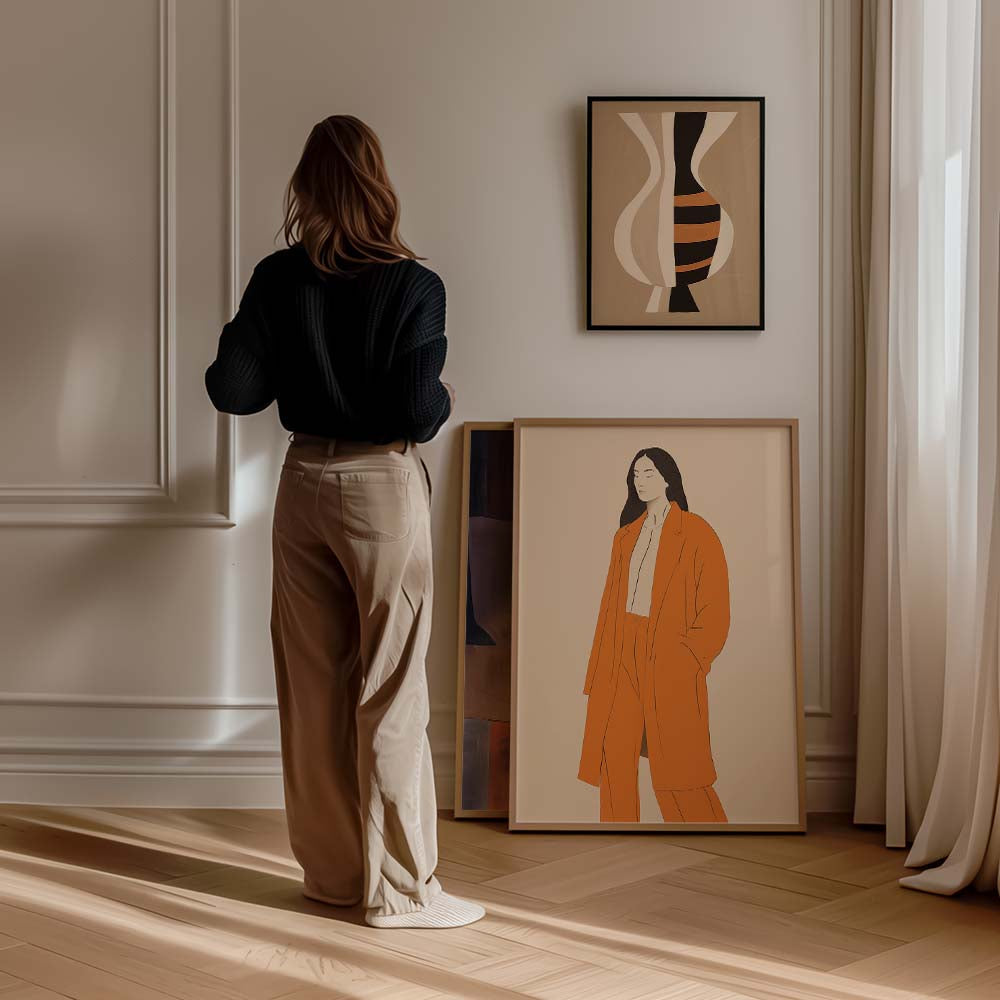
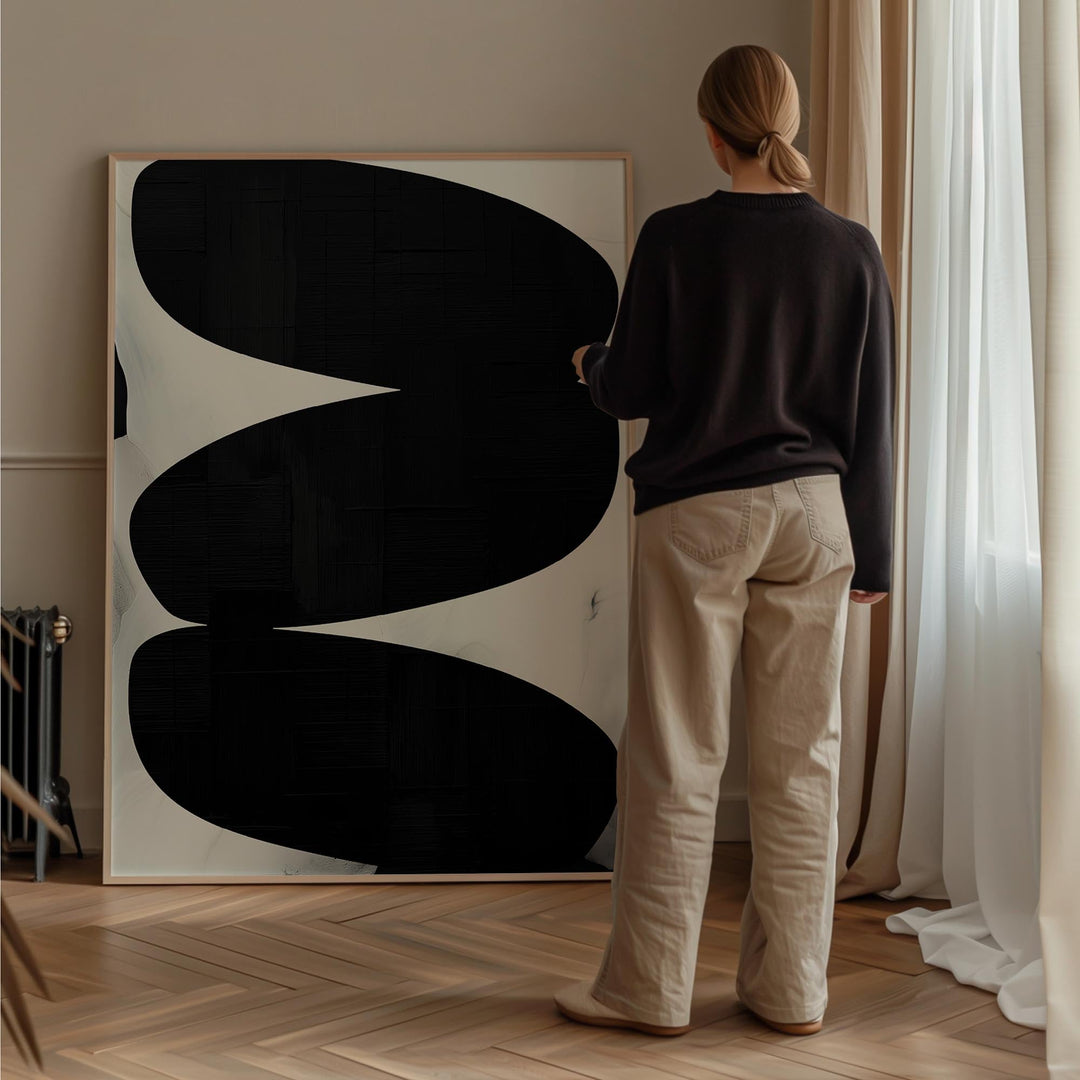
Creating a gallery wall is a simple yet impactful way to personalise your home and showcase your favourite artwork, photos, and decorative pieces. Whether you’re styling a small nook or an expansive wall, these tips will guide you through the process of designing and hanging your gallery wall with ease and confidence.
Step 1: Plan Your Layout
Before you start hammering nails into your wall, take the time to plan your gallery. Consider the following:
-
Choose a Theme: Decide on a cohesive theme or color palette for your wall. This could be family photos, abstract art, botanical prints, or a mix of styles that complement each other.
-
Measure Your Space: Use a tape measure to determine the dimensions of the wall area you’ll be working with. This will help you create a balanced arrangement.
-
Gather Your Pieces: Collect all the items you plan to include. These might include framed photos, art prints, mirrors, or even small shelves for three-dimensional objects.
Step 2: Create a Mock-Up
To visualize your gallery wall before committing to a layout:
-
Use Paper Templates: Cut pieces of kraft paper or newspaper to the size of each item you plan to hang. Tape them to the wall with painter’s tape to experiment with different arrangements.
-
Start at Eye Level: Arrange the main focal point of your gallery at eye level. Build the rest of the layout around it, ensuring there’s a consistent spacing between each piece (typically 2-3 inches).
-
Balance Shapes and Sizes: Mix different frame sizes and orientations to create visual interest, but maintain a sense of balance.
Step 3: Prepare Your Wall
Once you’re happy with the layout, it’s time to prepare your wall:
-
Mark Your Spots: Use a pencil to lightly mark where each nail or hook will go. If you’re using a level, ensure everything is aligned.
-
Choose the Right Hardware: Use nails, picture hangers, or adhesive hooks appropriate for the weight of your frames. For heavier pieces, consider wall anchors.
-
Protect Your Wall: If you’re renting or want to avoid permanent marks, opt for removable adhesive strips designed for hanging pictures.
Step 4: Hang Your Pieces
Now it’s time to bring your gallery wall to life:
-
Work From the Center Out: Start by hanging the central piece and work outward to maintain balance.
-
Check Your Progress: Step back frequently to assess the overall look and make adjustments as needed.
-
Ensure Stability: Double-check that each piece is securely hung and straight.
Step 5: Add the Finishing Touches
Once everything is in place:
-
Layer Decor: Enhance your gallery wall with complementary decor, such as a nearby plant, a console table, or accent lighting.
-
Experiment: Don’t be afraid to swap pieces out over time to keep the display fresh and reflective of your evolving style.
Bonus Tips
-
Stick to Odd Numbers: Odd numbers of items often create a more dynamic and visually appealing arrangement.
-
Incorporate Textures: Mix frames with different materials, like wood, metal, or acrylic, to add depth.
-
Use Personal Touches: Include meaningful items, like travel souvenirs or children’s artwork, for a unique and heartfelt display.


